Let's say we finally have a beautiful—some would say ideal—scanned object upon which we can run analyses and perform measurements to serve as a reference for manufactured parts. Normally, in the manufacturing process, we can automate each step to be performed on produced parts. This reduces the need (and time) for manual inspection and ensures a higher level of quality assurance.
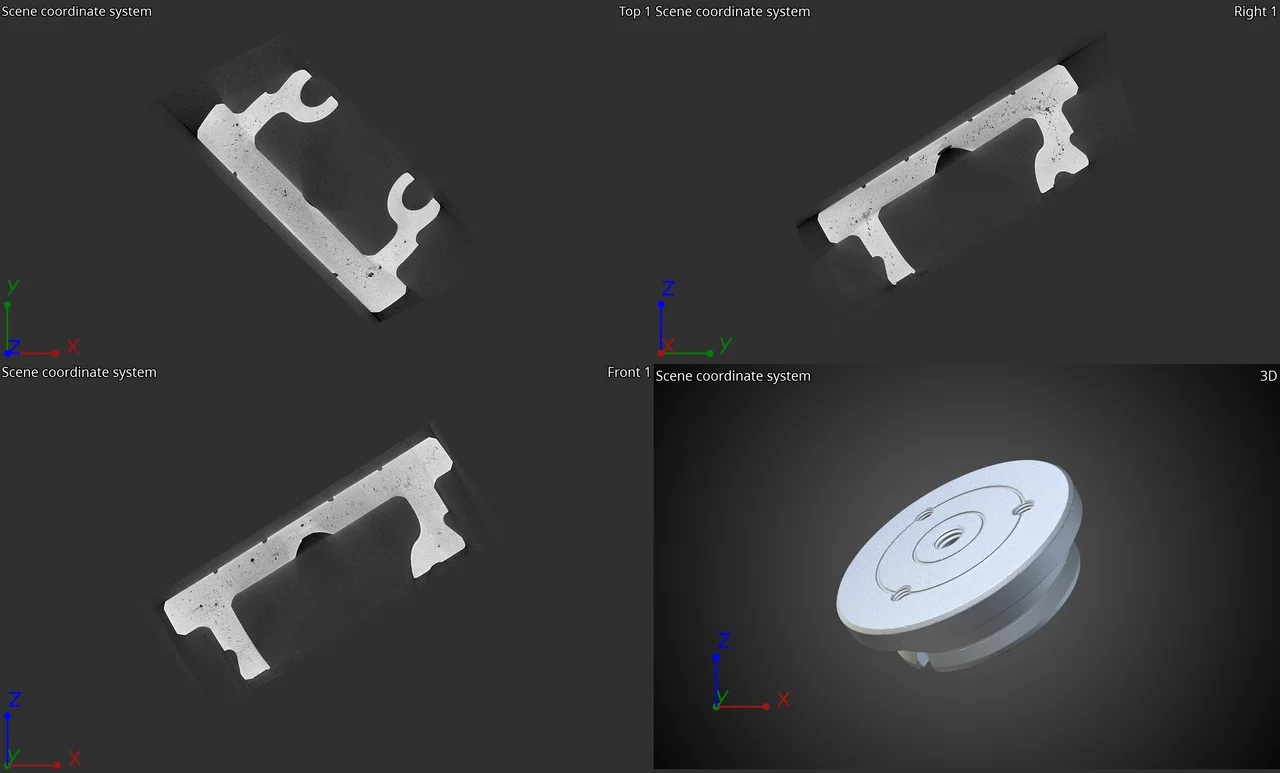
Pictured: volume data of a part before alignment, as acquired directly from a CT scanner
Now let's say we have a couple of parts to examine in VGSTUDIO MAX and need them at a specific position in the scene of the software, which is often the case if we want to import ROI templates for further analyses. In many cases, we can simply move them around manually. However, once we start working with 20, 30—even hundreds of—parts and want to take an image of each part at a specific angle, we find that manually rotating every volume can become time-consuming and prone to inconsistencies. We can try to automate pure transformations—like the simple act of moving or rotating it—but the automation tool does not seem to recognize them as steps.
The solution? We simply need to present our transformation as something it does recognize: a measurement plan. That's it! We begin by loading the volume data and positioning it the way we want in our scene. Depending on how accurate we want to be, we can simply twist and turn it manually—if we just want to get a decent angle to make images—or use one of the registration methods if we need to capture a specific position or align the volume to a CAD. Once the volume is exactly where we want it to be, we can actually store this transformation by right-clicking the object in the Scene Tree and selecting the option from the context menu. This creates a local coordinate system that contains the volume's transformation.
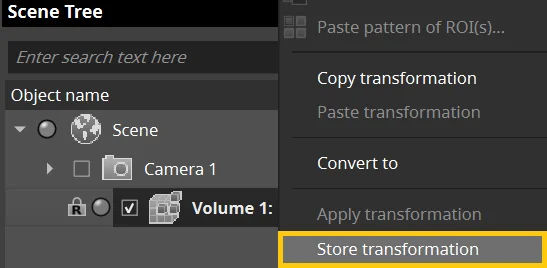
Storing the transformation creates a local coordinate system that contains the volume's transformation.
Remember: Before saving the transformation, be sure to set the volume back to its original position, as future data sets will start from there. If not, we will not see this transformation on later volumes.
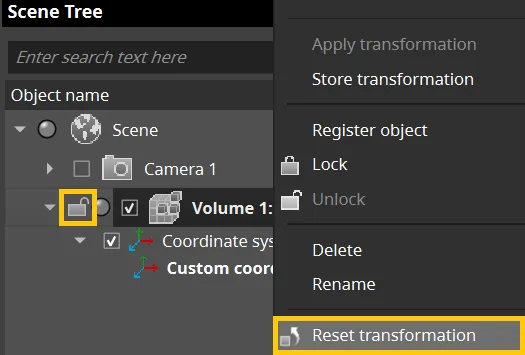
Resetting the volume to its original position ensures that the transformation will appear in later volumes.
Once everything is set, we can export the local coordinate system as a measurement template, which will definitely be recognized by the automation tool. So let's record it! Import the measurement template we had just saved and apply the transformation. That's all there is to it! We can stop the recording after that to secure our macro.
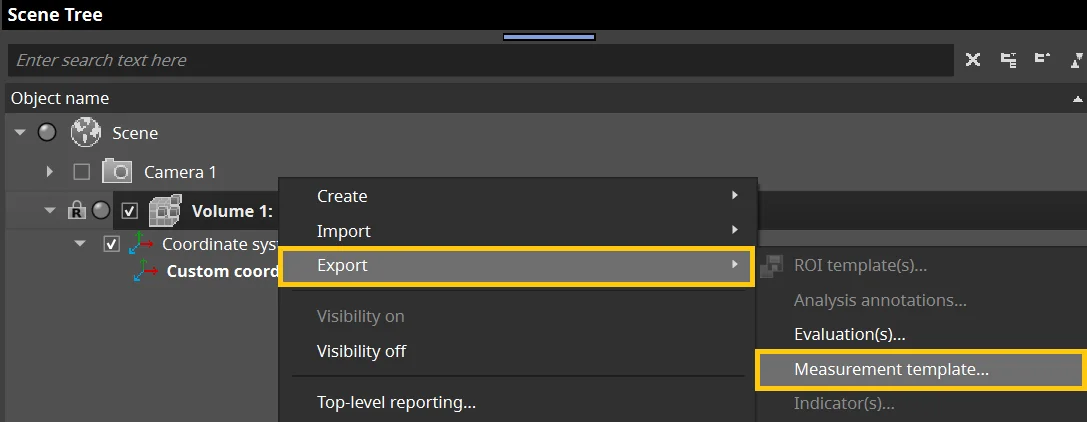
Exporting the local coordinate system as a measurement template ensures that the transformation will be recognized by the automation tool.
Now that we've created a macro for a single part, we can simply use batch processing to apply the macro to all volumes. This is easier because all volumes have been automatically oriented and positioned the way we want instead of requiring manual rotation or time-consuming alignment methods, such as best-fit or feature-based registrations, which in many cases can take days.
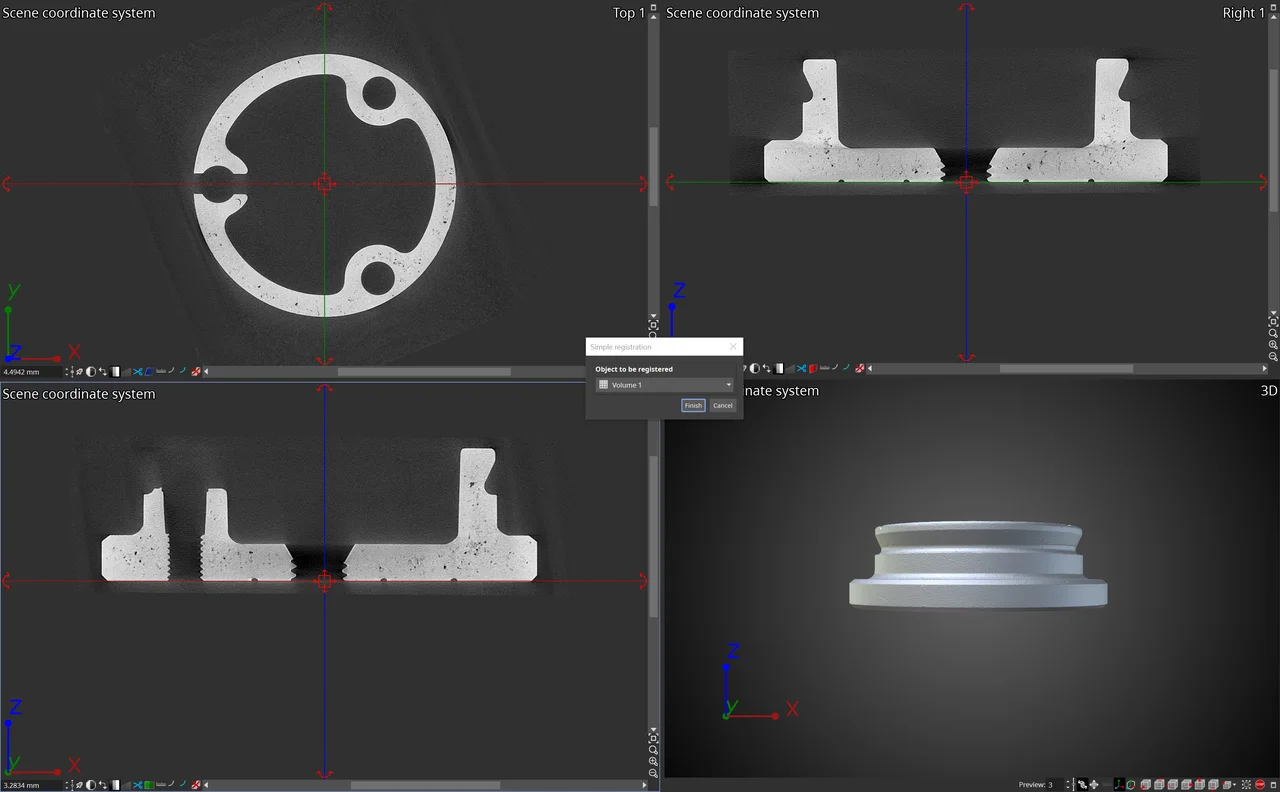
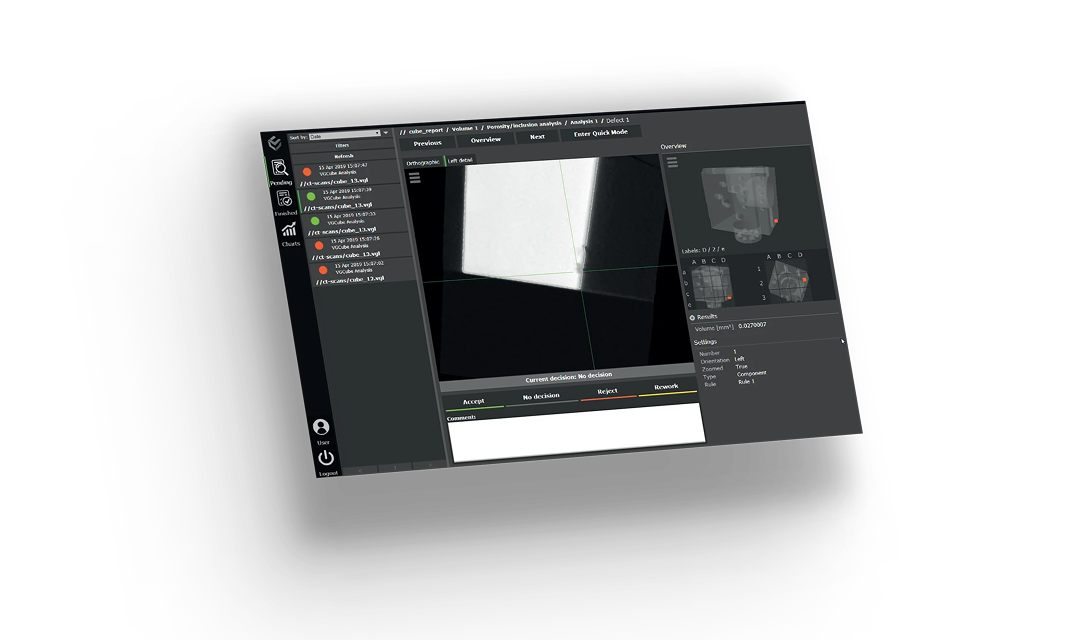
Simple registration allows you to transform the part quickly and manually
Using an alignment method, such as best-fit registration, would also work as long as there is a reference object available; however, the time required for such a high number of scans would take too long for it to be practical.
With this workaround, you can store any position you are interested in as a local coordinate system and trigger it with a macro whenever you need it. This is useful if you want to refer to the same position and orientation in several scans—as long as the parts were initially scanned in the same position—and visualize a specific area in multiple parts.